Gudbjorg Arnalds Gudbjorg Arnalds

The Power of Props! by G

Props are a great way to give you extra challenge and add variety to your practice. But for me the biggest bonus of using props is that they give you guidance and feedback that allows you to explore the practice in a new way and that helps you discover the depths of the exercises.

FIRST THINGS FIRST

I know this is a blog about props, but before we got to those let’s quickly discuss Pilates and why it’s unique. 

The best thing about Pilates, in my opinion, is that it is mindful movement. What do I mean by that? I prefer to talk about Pilates as a movement system (or theory of movement as Emma likes to say) and not a workout routine. Yes, you’ll get a workout for sure but the goal isn’t to burn calories or to develop a six pack, although that may be a welcome side effect! The ultimate goal is for you to develop more efficient movement patterns that will support you through all aspects of your life. When you move through the exercises mindfully, and allow yourself to fully explore different ways of doing the same thing, you have a true chance to not only get stronger, but to change your movement habits in a positive way. And change is where the magic lives!
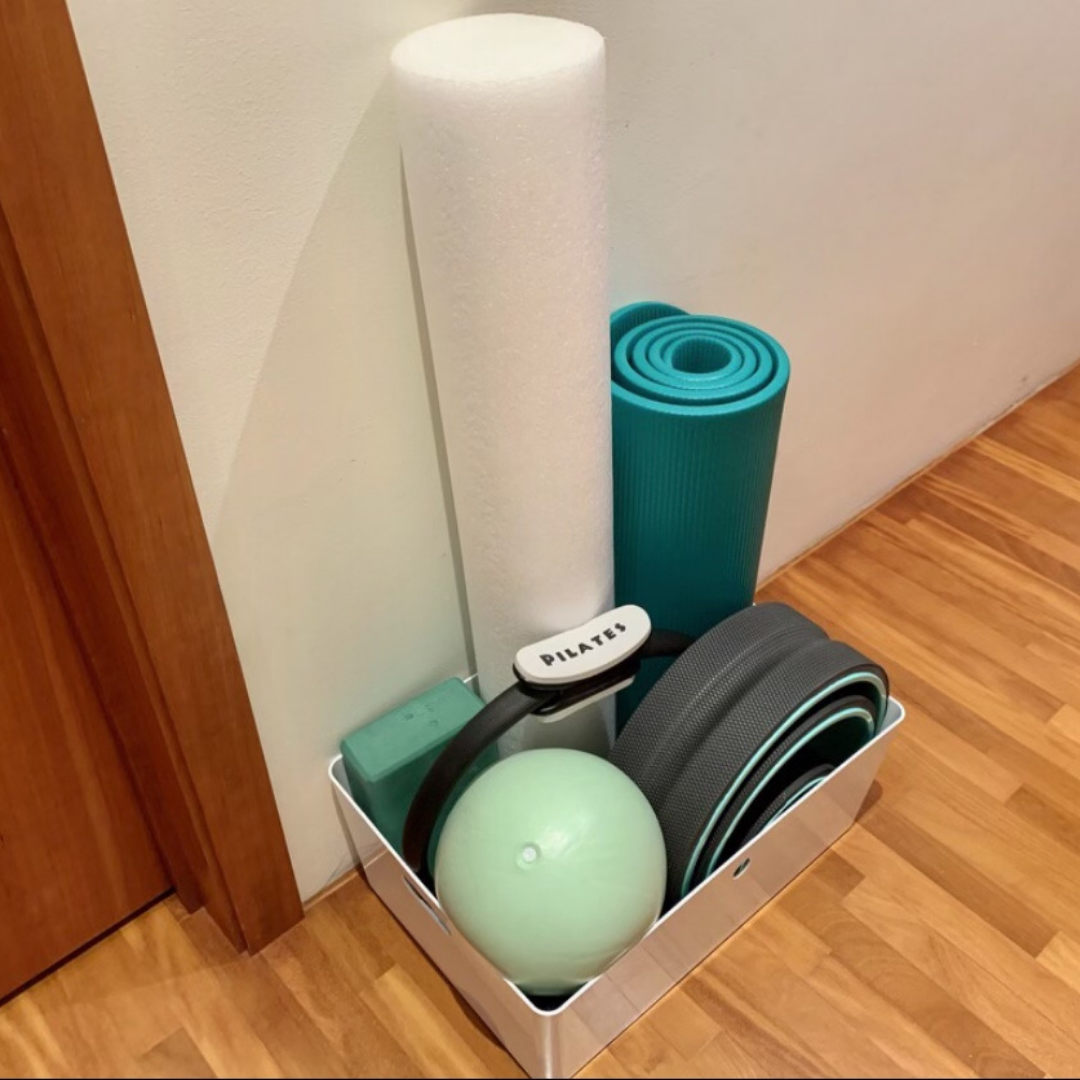
G’S BOX OF PROPS!

G’S BOX OF PROPS!

WHY USE PROPS?

Ok, now that’s out of the way, let’s go back to our intended subject - props.

Props are a great way to give you extra challenge and add variety to your practice. But for me the biggest bonus of using props is that they give you guidance and feedback that allows you to explore the practice in a new way and that helps you discover the depths of the exercises (remember change is where the magic lives…). This is actually why the studio equipment is so brilliant, but let’s face it, most of us can not spend the $$$ and dedicate the space to have a reformer in our living room (although we can all dream!). A small stash of inexpensive props can give you some serious bang for your buck, take up much less space than the equipment, and are much easier to stick in your suitcase for that time when we can actually go adventuring again.

I would highly recommend that if nothing else you invest in a good exercise mat. In a pinch you can always lay out a towel - but a mat will give you more cushion, it has better grip and it won’t get all tangled underneath you.

If you are new to the idea of props and have none on hand you can scour your house for things that can be useful. You would be surprised what you can do with a pillow, a rolled up towel/blanket or any balls you have lying around the house. Think tennis balls, pinky balls, soccer/playground balls from your kids toy chest.

If you are ready to invest in some props but are starting from scratch I recommend you start with these three basic items.

  • An exercise mat

  • A squishy ball

  • Thera band

Why do I recommend this particular combination? They are inexpensive, they are versatile and between the three you can achieve a challenging workout and discover the exercises anew.

So let’s look at one exercise and the different ways we can use a ball and band and how they can guide, support and add challenge depending on how you use them.

CUE THE HUNDRED

HundredRegular.gif

If you know one thing about Pilates it’s probably The Hundred! We all “love” it. It’s simultaneously simple in its movements and concepts, but has a lot to unpack when you really examine it. To execute you keep the trunk and legs very still against the vigorous pumps of the arms, all while you breath smoothly and deeply in for 5 and out for 5. Complete 10 reps, or a combined 100 pumps and voila, you have done The Hundred.

Hundred.gif

The trick to a really good Hundred is a strong curl from your bottom ribs with a continuous slope going up through shoulders, neck and head. While the arms and legs actively lengthen forward, the back of the head reaches up and back in opposition to the limbs. (Check out our fancy animation)

The most common problem I see in The Hundred is neck strain and tension, followed by lower back strain. There are a lot of reasons this could be happening but the good news is that with some simple tricks we can use the props to help support our movements, as well as guide the body to discover better patterns and add additional challenge.

EXERCISES

BALL VARIATIONS

The ball is super versatile and one of my favorite props to give to clients. It can support the weight of your head (and thus get rid of that pesky neck strain) or you can place it to give feedback to help you understand the upper body curl better.

*For the ball variations you could substitute a pillow, rolled up blanket/towel for a similar feel.

1. Ball behind head

The ball supports the weight of head and positions it properly. This allows you to release the neck muscles and find the curl from the bottom of the ribs for a deeper ab fire. This helps you to build strength to eventually lift the head off the ground without the ball support.

Ball position: Place the ball behind the head, and go forth and pump!

2. Ball behind shoulders

This is the next step. The ball now supports your upper shoulders to guide the upper body curl to go deeper. Great for those who feel comfortable with the head position, and whose neck muscles are strong enough to support the weight of their head, but are working on developing a deeper curl from the rib cage, more mobility in their upper back and a stronger ab connection.

Ball position: Place the ball behind upper shoulder blades and attempt to release your upper ribs into the mat as much as possible.

3. Ball under hips

This is similar to the first two variations in how the spine is shaped. The curl is still coming from the same place, the bottom of the ribs, but we now have the hips lifted instead of the head. This is a great option for those who experience lower back strain through the exercise. Option: you can lift your head off the mat if you feel comfortable with the curl.

Ball position: Please the ball behind the hips (right under the sacrum, the triangular bone at the base of the spine).

4. Ball under feet

This is a great feedback tool for those who are already comfortable with the curl, but are working on deepening their ab connection and increasing their upper back mobility. As soon as you add the feet pushing down and forward into the ball the ribs magically sink back into the mat and you start understanding the opposition between the two (see our fancy animation above).

Ball position: Place ball under your heels and go!

THERA BAND VARIATIONS

Just like the ball there are multiple different ways that you can use the Thera band to support and guide the body.

1. Band supporting head

The band supports your head and gives guidance for head placement. This is a great option for those who have enough neck strength to hold their head up, but are struggling with how to place their head to find the length of the head reaching back and up (remember our fancy animation).

Band position: Line the band up along your spine and hold onto the end above your head.

*Option: You could do a similar version with a towel. Lie on the towel and grab the two corners above your head to support neck and head.

2. Band between hands

The advantages of this version is that the band encourages length through arms while you activate shoulder and trunk muscles, which help you deepen your curl. This is a good option for those who are already comfortable with the curl, but are working on finding the connection of their arms, shoulders and abdominals.

Band placement: Hold band between hands under legs and gently pull outwards. Imagine the bottom ribs open backwards and outwards while you reach arms forward.

3. Band around feet

The band gently supports the weight of the legs, while giving resistance to push forward against to encourage more length through legs (like standing tall!). The band tension guides the arms into long strong pumps, and helps you understand the shoulder to ab connection. This is a great version for those who are comfortable with the curl, but struggle to keep tension out of their lower back.

Band placement: Wrap the center of the band around the balls of your feet and grab the two tails in your hands.

4. Band looped behind you

The reformer gives you amazing feedback to understand how the different body parts reach in opposition (see animation above), and this version mimics that. The band resistance both guide the bottom ribs down into the mat, while the shoulder muscles and abs get to work together to achieve the curl and pumps. This version is great for those comfortable with the regular exercise but are looking to deepen their practice and connection.

Band placement: Loop the band around something heavy behind you, grab the tails and go!

5. Band behind upper back

Looping the band behind your upper back gives you a solid surface for the ribs to push back against, while the arms pushing forward into the band both actives the shoulder muscles and helps to reinforce the shoulder to ab connection. This is a great version for those trying to understand the opposition between arms and ribs (see fancy animation).

Band placement: Wrap the center of your band around your bottom ribs, grab the tails in your hands and push forward into the band throughout the exercise (your arms will need to reach slightly higher than normal).

GO FORTH AND BE PLAYFUL!

Well, that was quite a lot! This is by no means an exhaustive list of all the fun things you can do with these simple props, but I wanted to emphasize how small changes in positioning can have a profound effect on how you feel and understand a movement. And I’ll say it again, change is where the magic lives!

Next time you find yourself zoning out while going through The Hundreds think of what small changes you could make. Can you change the angle of your palm a bit? Can you emphasis the pumps coming from the thumb or the pinky finger, and how does that effect your curl, your shoulders and your abs? Can you reach your legs a little bit longer than you thought, and how does that affect your lower ab connection? I could go on but you get the idea, the possibilities are endless.

Go forth, be playful and have fun with your movements!

PS: If you are ready to purchase some props, you can always get in touch with us and we can help select the options best for you. You can also check out our resource page where we give a brief overview of all the things we personally rely on and use both in studio and at home.

Read More